My FabKit MK 5 was causing problems: When starting the laser operation, the smoothieboard was resetet and the whole process aborted. You had to re-establish the serial connection and hope that it would work this time. The issue became more and more frequent over time …
So it was time for an upgrade:
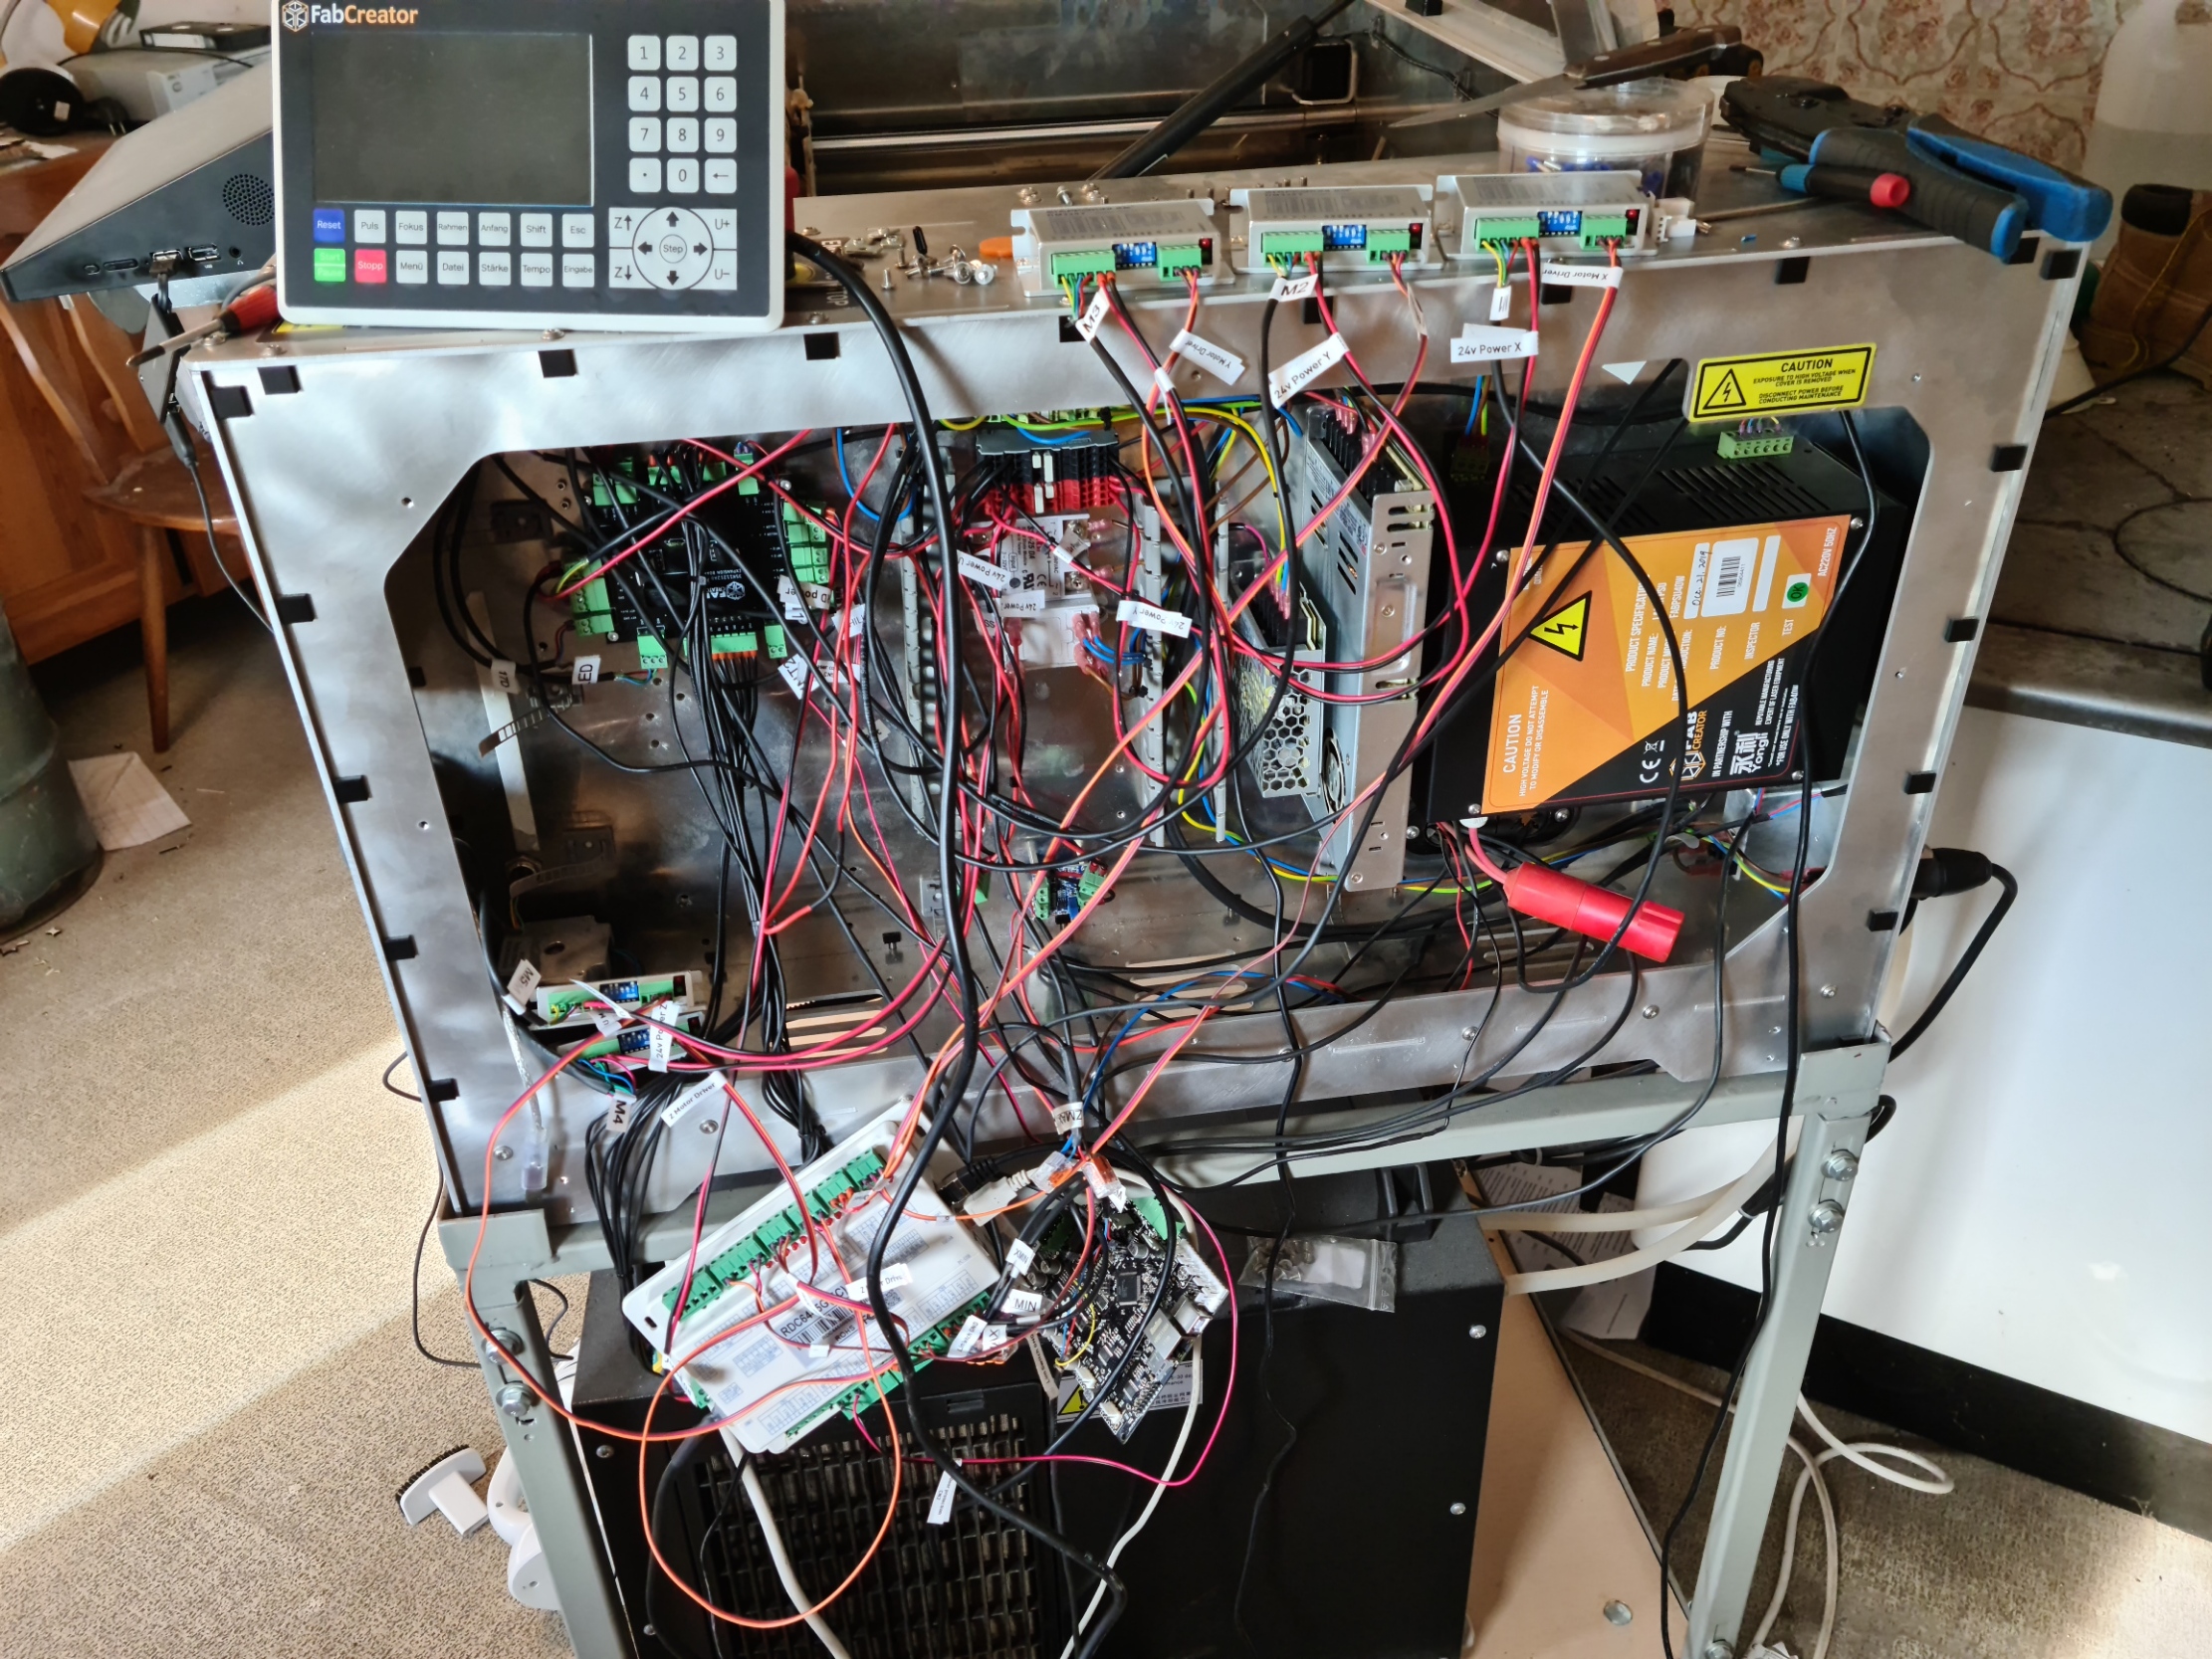
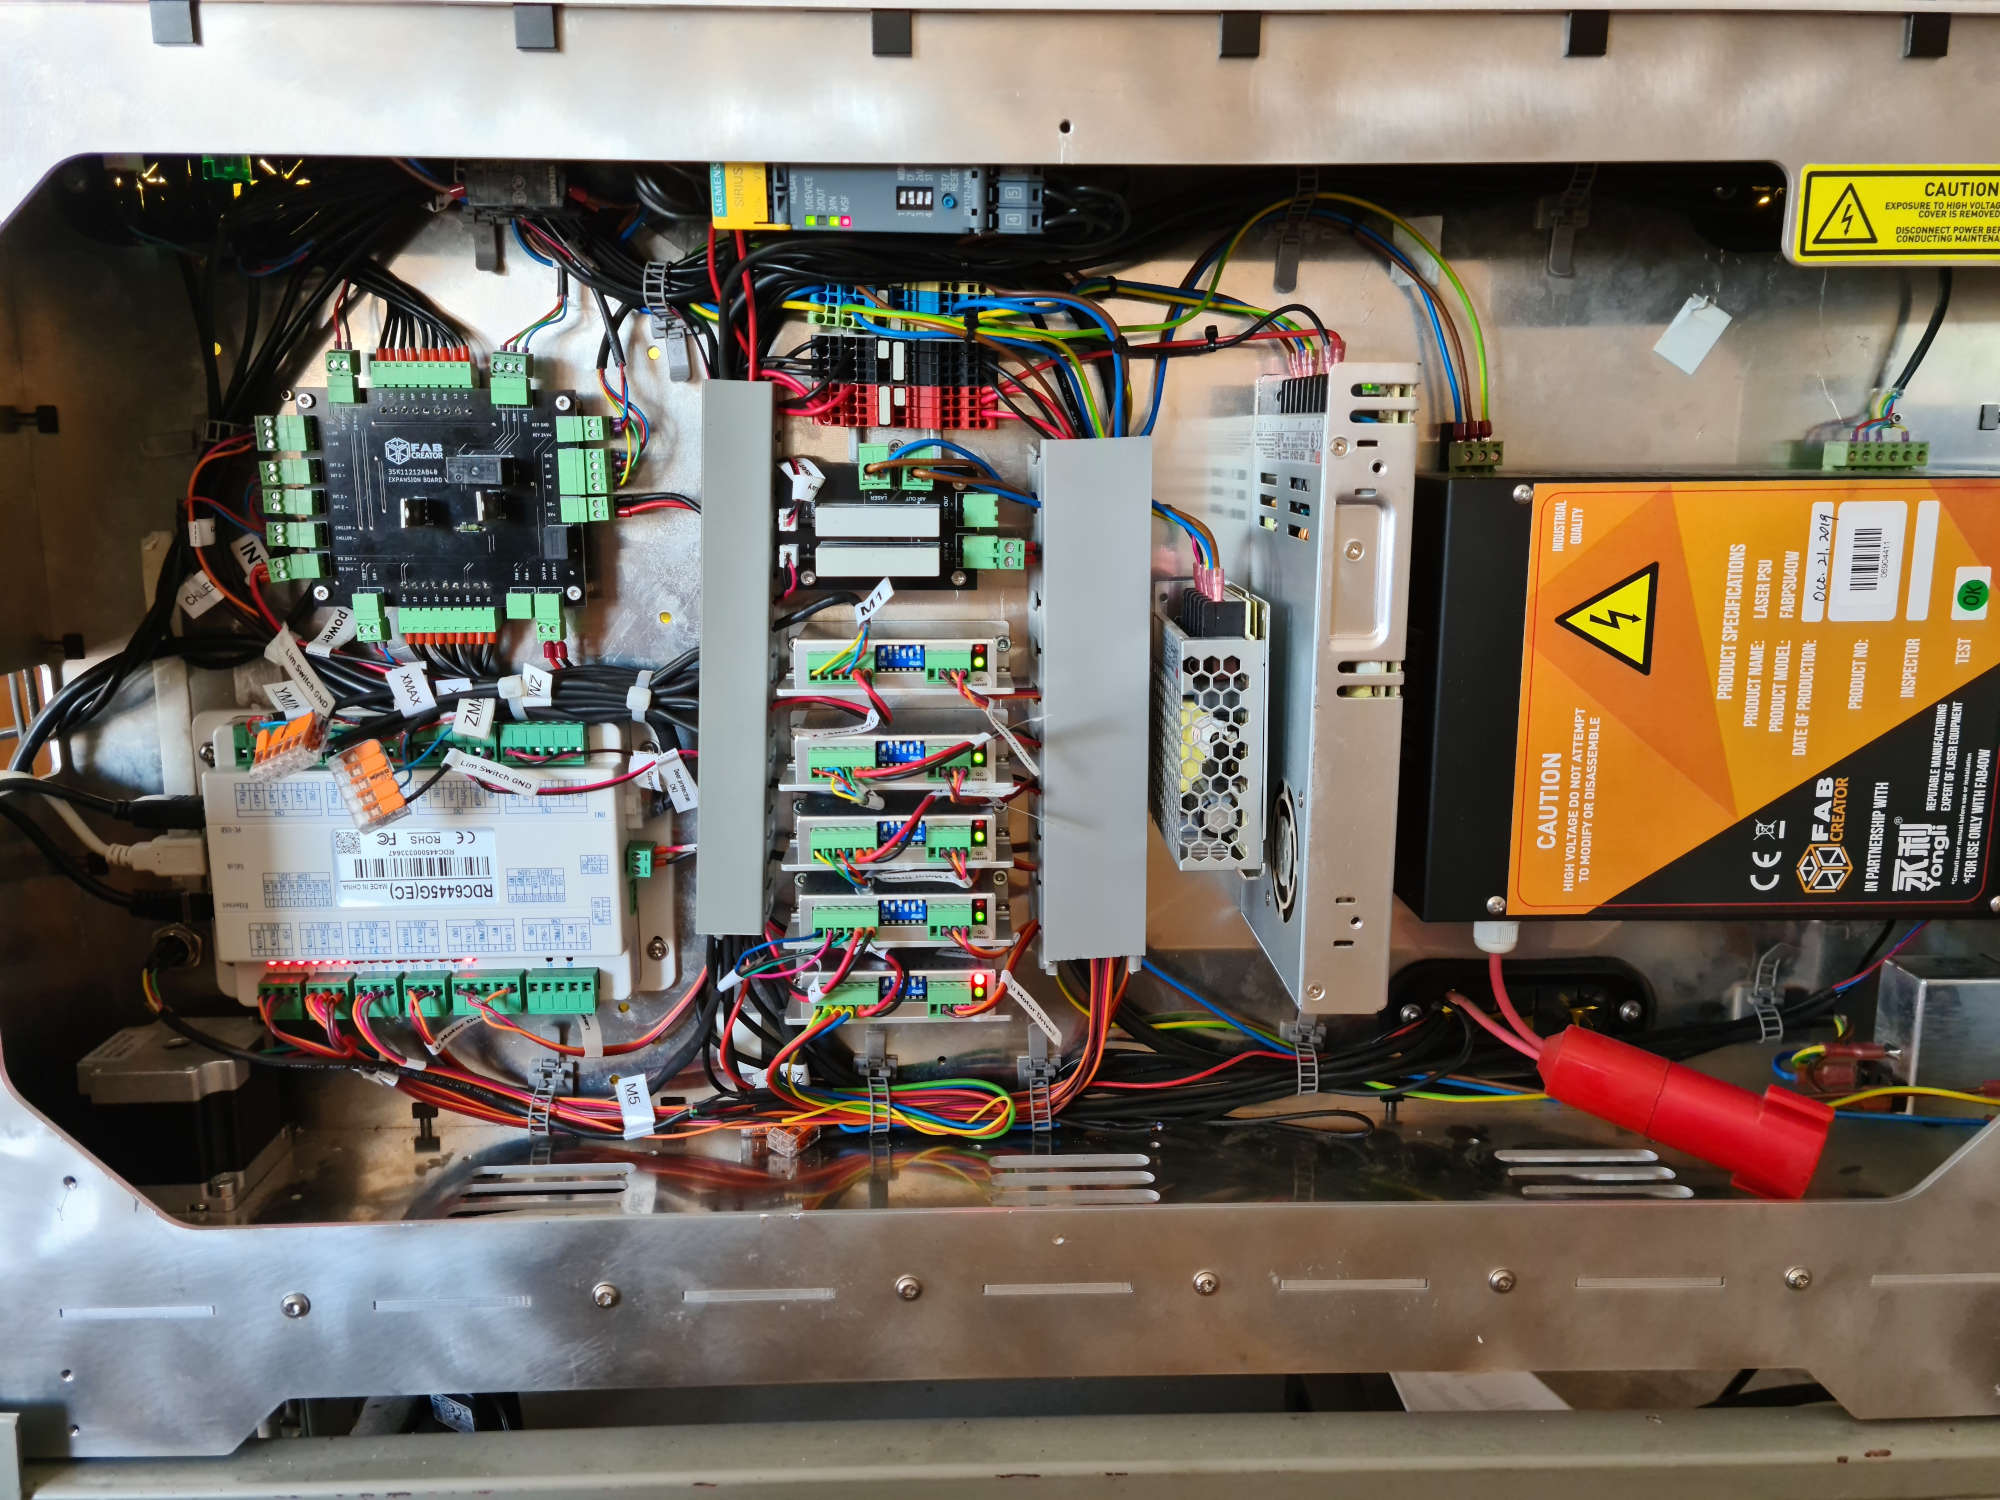
I contacted Bonne and he informed me that the smoothieboard was probably damaged and that we couldn’t replace it because there was no smoothieboard available. So the idea was to upgrade to a Ruida board. Ruida boards are the new quasi standard for laser controllers, and MK 6 will come with this controller as well.
That means for my older maschine a completely new controller, external stepper driver and a different connection for the compressor. Also, it doesn’t work with the LaserWeb software anymore, you are now stuck with the Lightburn software.
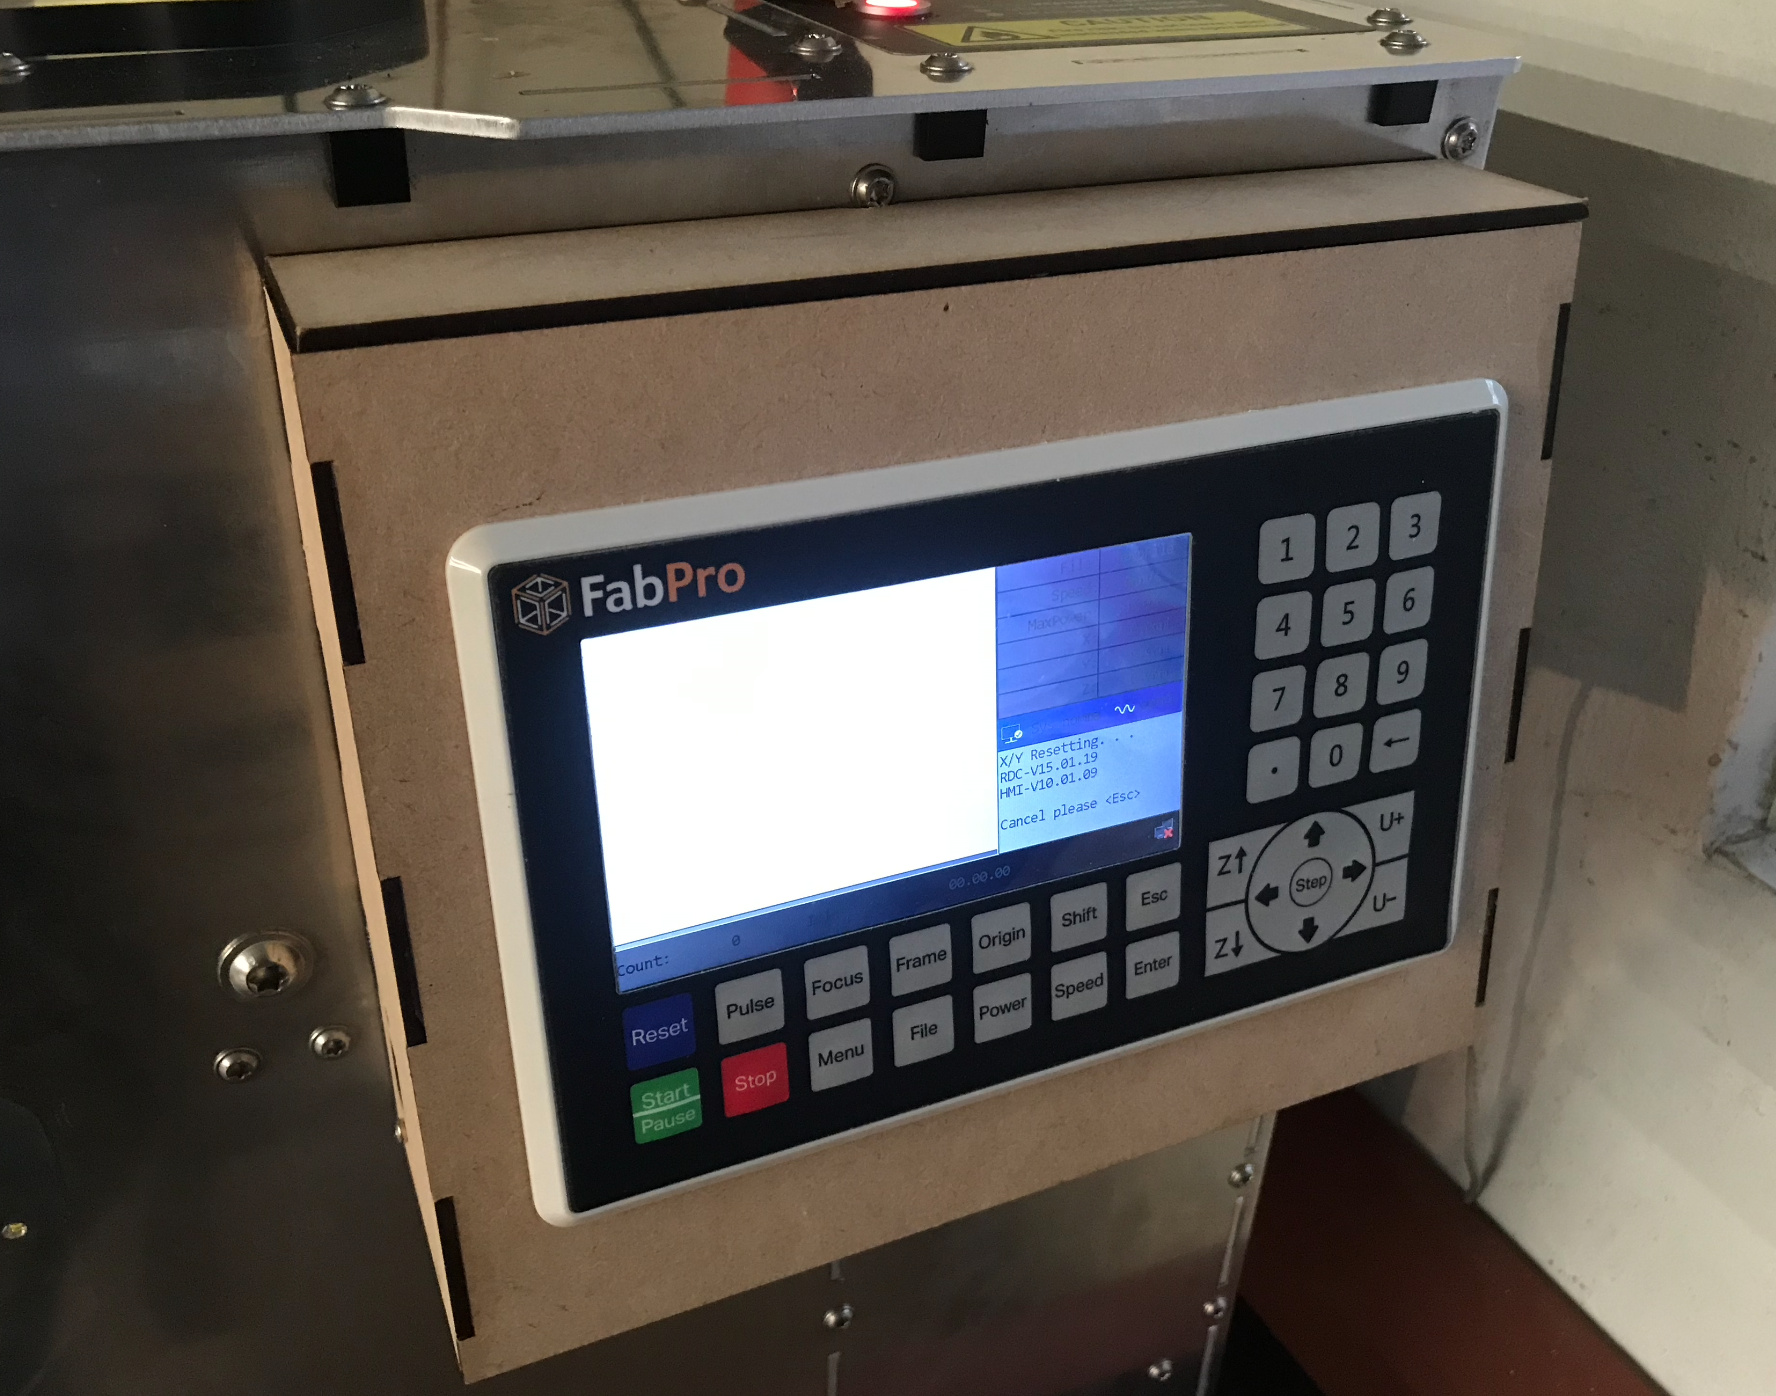
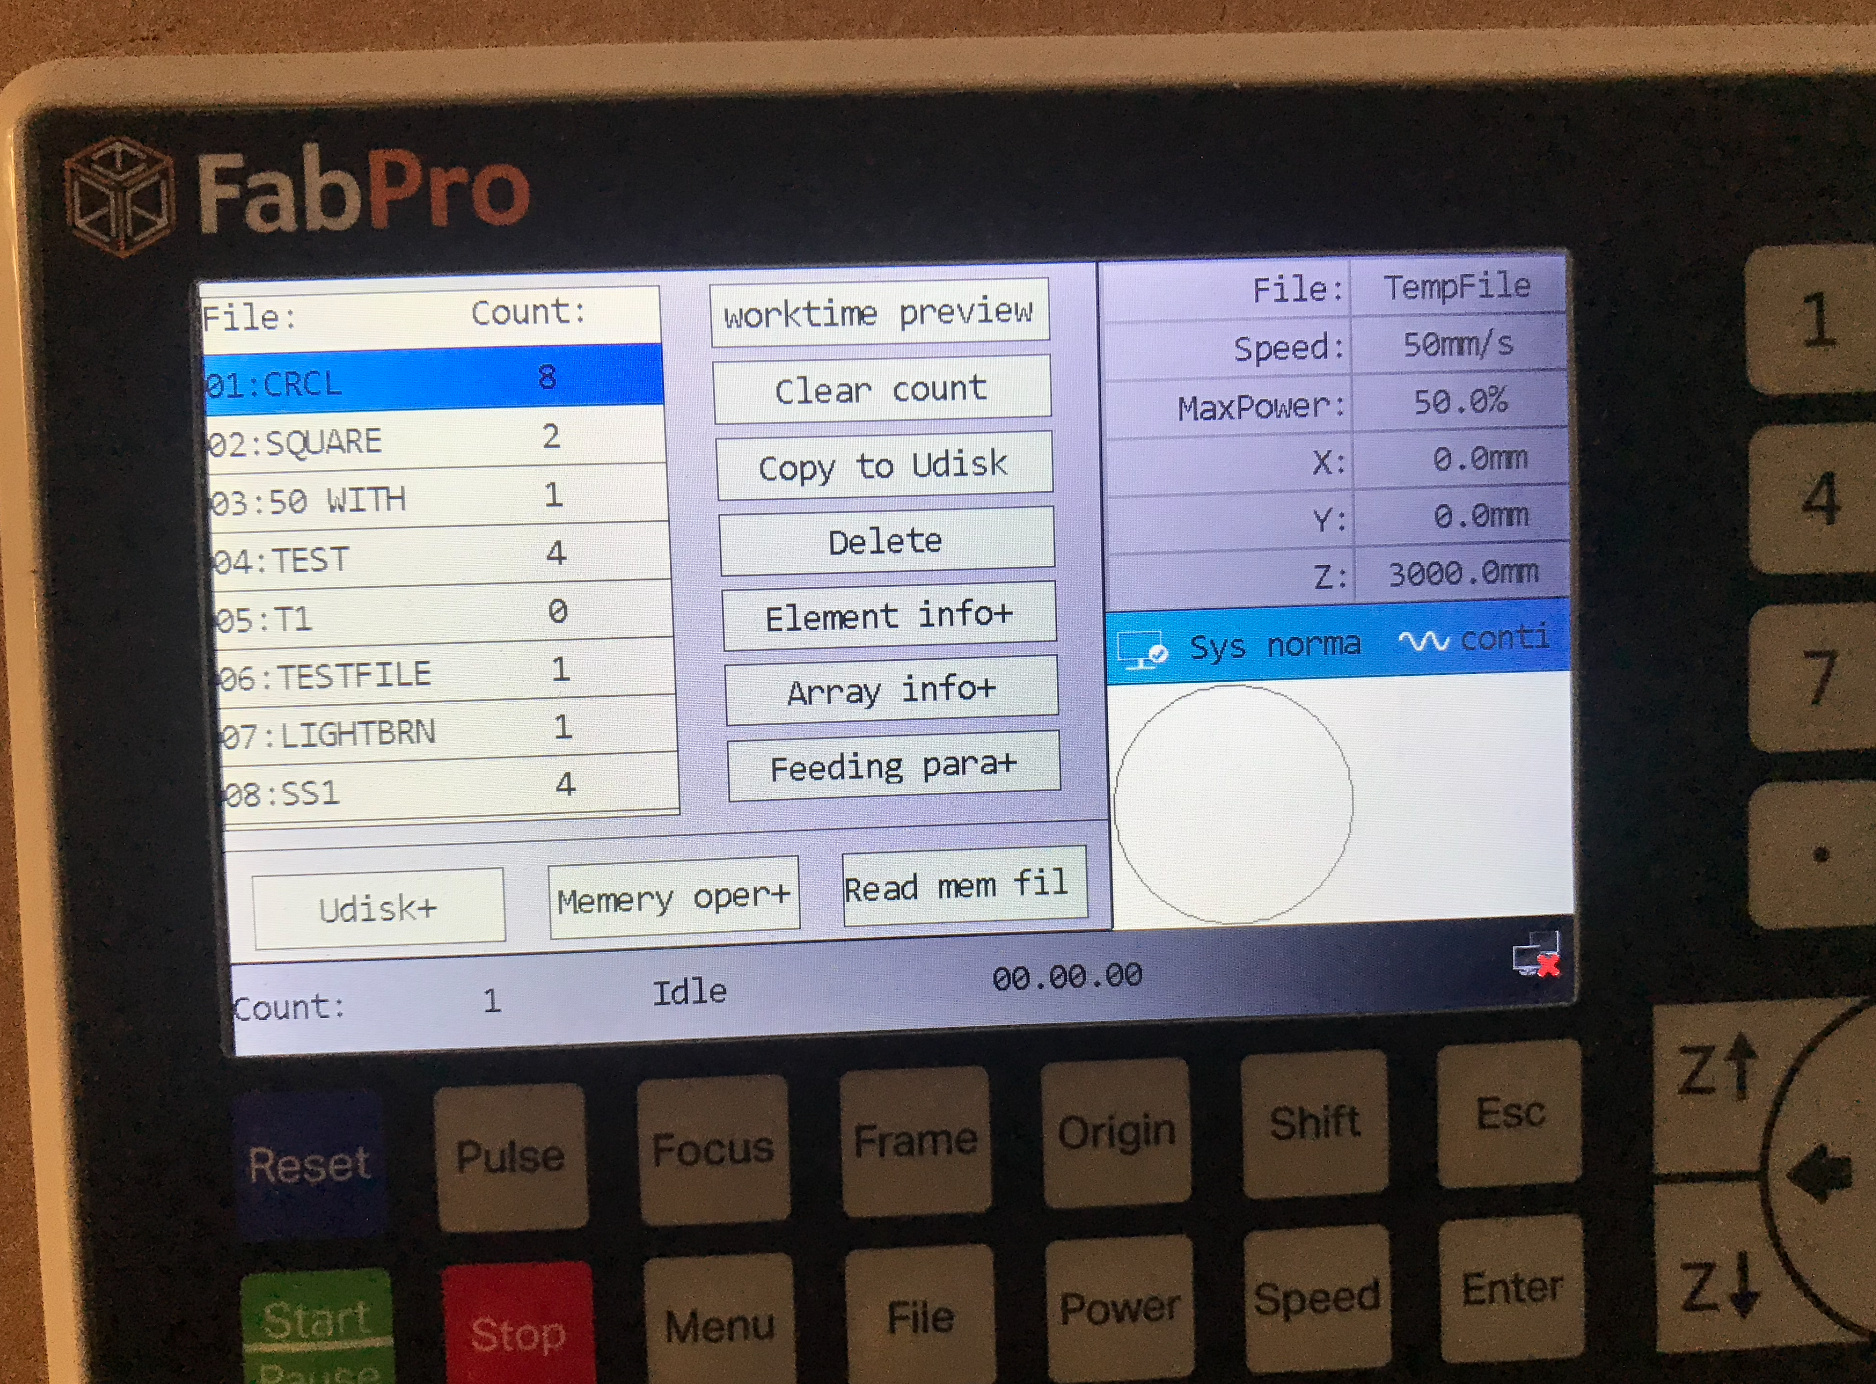
The controller has a fancy monitor that can be used to control the machine completely on its own, (without any additional computer). Once a cutfile have been created and saved to the controller you can run it allover again. The cursor keys move the laserhead and you can adjust the focus conveniently on the machine. There are a few new safety precautions (the lid has to be opened and closed once before the first use).
So I am quite satisfied and can recommend the upgrade to all those who have problems with dropouts of the smoothie board.
the first project was the housing for the display, mounted at the place of the former mini pc.
Hey, nice upgrade! I have exactly the same problem with regard to the smoothieboard. How complicated is switching the controller and the rest? Soldering or just reconnecting things? Do you need to figure things out by yourself or has Bonne directions how to do it?
Thanks in advance!
Because of my interest in technology and my personal nerd level, I packed the cutter into my car and drove it to the new FabCreator headquarters and spent 2 days there. We made the changes together there. Bonne is much more experienced with his machines. There were a few problems because the Y-axis is controlled by two motors and at the beginning they did not run synchronously (for whatever reason). I can only recommend that you send the machine in or, by arrangement, carry it to the fabric. After all, a lot of spareparts need to be ordered in advance and changed inside the machine.
Thank you very much for taking the time to respond in detail!
I think I’ll pass then. It doesn’t bother me too much, I just restart the job several times until it works. I don’t think I have enough experience to do it on my own and I have two other lasers for backup.
Thanks again!
I think we will create an easy upgrade kit with instructions eventually.
With @ploenne we did it on the fly motors kept us busy for some time but got there in the end
Ill send a photo of the lamp you bought us, sits very happily above our lunch table
Hi
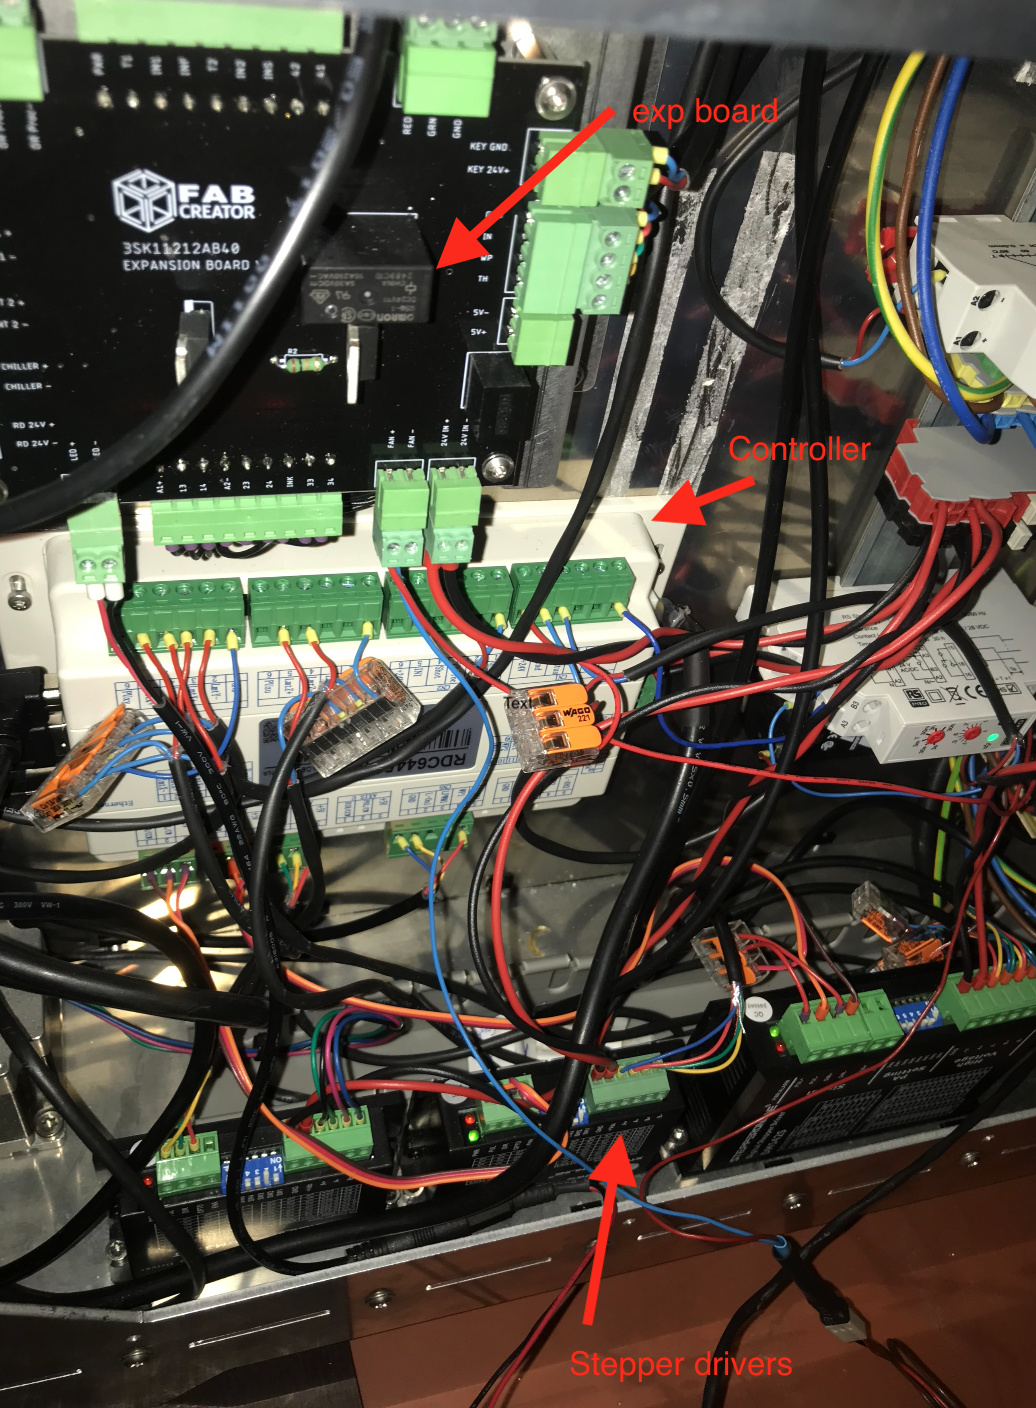
i am currently in the middle of upgrading to the update
but have a few problems with the connect
do not know exactly how to connect everything correctly
maybe there is a circuit diagram
or instructions on how to connect the koreckt
doesn’t want the components to go up in smoke the first time it is switched on
just because I connected something wrong
can someone help me with this
I also built in an additional switch for the red dot so that I can turn it off if necessary
Hi Stefan,
We don’t have an official upgrade kit yet as I said. So I had to make it specially for you hence I am walking you through it over email. Sadly I cannot be available 24/7.
Kind regards,
Bonne
hi i’m from austria Bonne already helps me via email i have made quite some progress thanks to Bonne
are just a few small things, for example where do I hang the red dot laser at the beginning I had nothing, not even an instruction manual for the board


 motors kept us busy for some time but got there in the end